Create Server
Description
The Dedicated Cloud Compute User Interface ((DCC UI) has been updated with a new look and feel. This documents the process to create a new server.
Audience
Dedicated Cloud Compute customers.
Assumptions
- You have a SavvisStation Portal account and can log on successfully.
Add Server Process
-
Log-in and go to the new DCC UI. For more information, please refer to the Logon to New UI KB article.
-
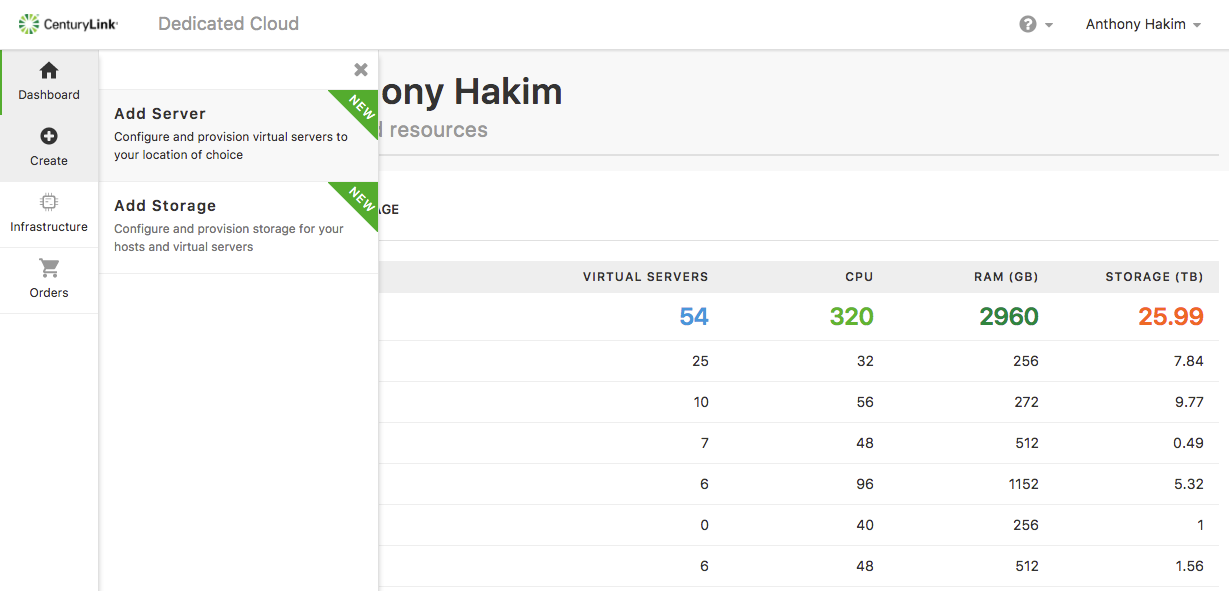
Once logged in the DCC UI, click Create > Add Server.
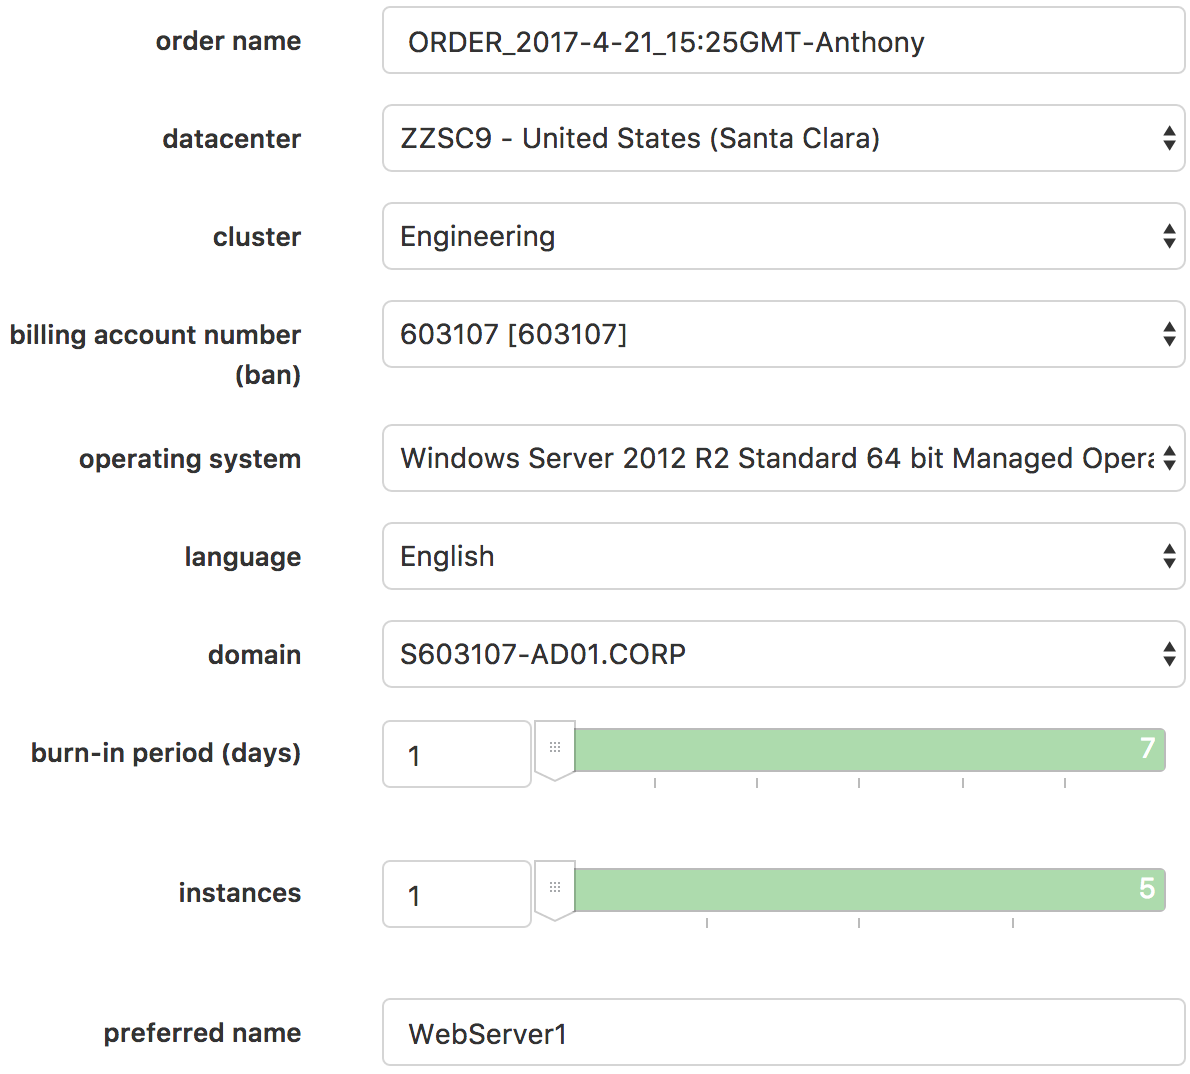
Configure your server order
In this section, you will have the ability to customize the specifications of your server:
-
Change your order name as needed.
-
Select your datacenter.
-
Select your cluster.
-
Select your billing account number (ban).
-
Select your desired operating system.
-
Select your preferred language if applicable.
-
Select your domain — only applicable if you selected a Windows OS.
-
Select your desired duration for the burn-in period (days).
-
Select the number of instances you require to be provisioned.
-
Enter your preferred name.
Resources

-
Select the amount of vcpu you would like to allocate to the server(s).
-
Select the amount of vram you would like to allocate to the server(s).
Networks

-
Select the network to which you will assign for interface 1. You can assign up to two (2) network interfaces.
-
Choose either ** Automatic IP Assignment** or Manual IP Assignment.
Storage

-
Select the data store for Disk 1 (Boot). Size is predetermined for the Boot Disk.
-
Select the data store for Disk 2 (this is optional).
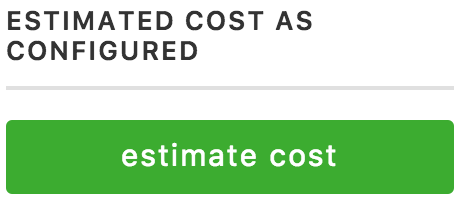
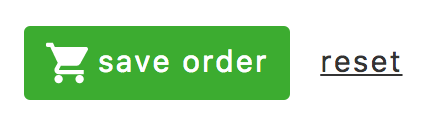
Now you have the option to either estimate cost for your order, or to save order.
-
If you choose to estimate cost, you will be presented with the estimated cost as configured.
-
Once you are satisfied with your selections, click save order.
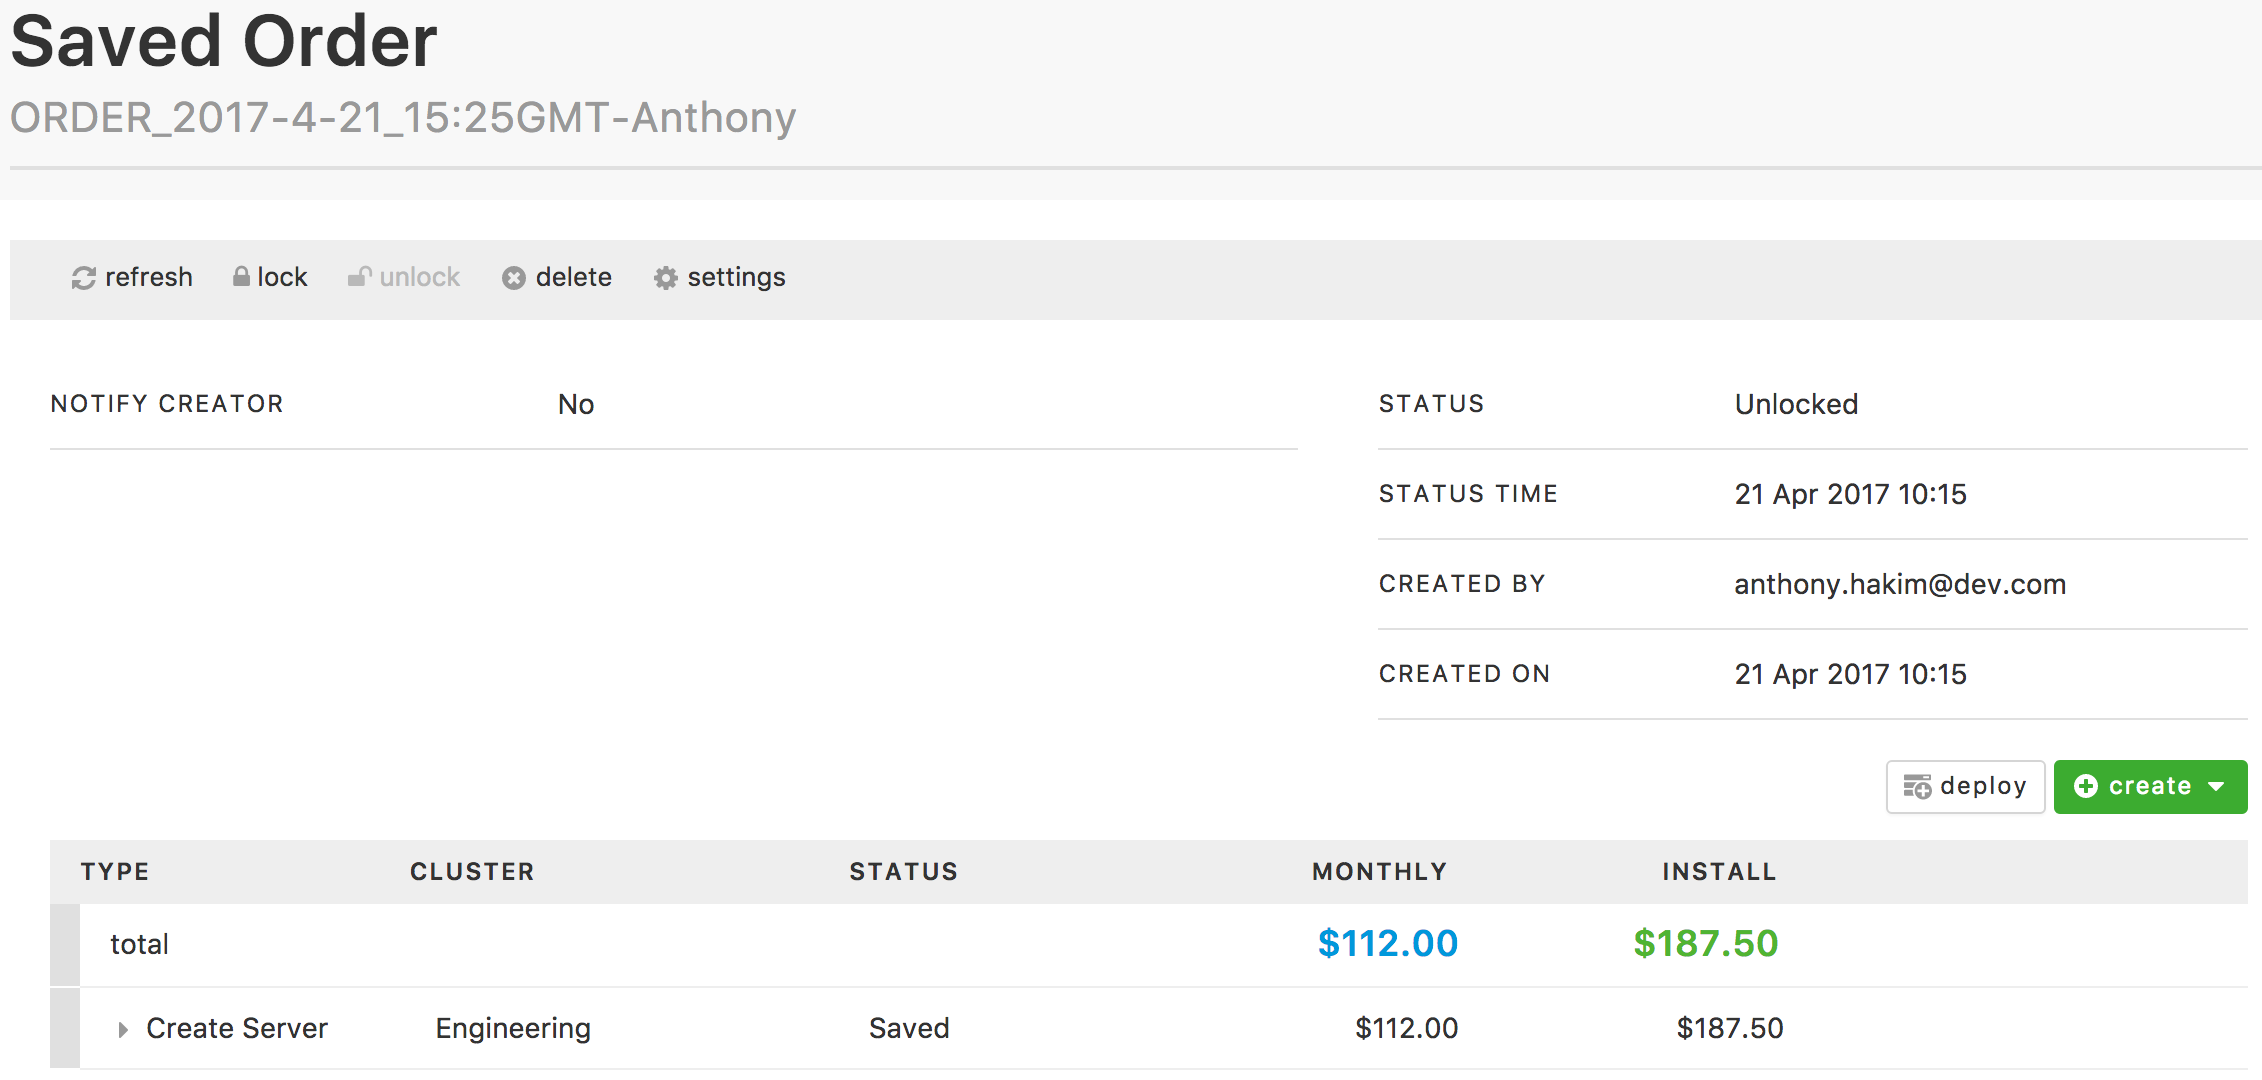
Saved Orders
-
If there are no configuration issues, you will then be taken to the Saved Orders page.
-
In the Saved Orders page, you are able to lock, delete, or change the settings of your order.
- Adding a lock to an order disables the ability for others to add/modify. You can unlock your order if you need to add/modify. If your permissions allow, you also have the ability to deploy your order from this screen.
- From this screen, you can delete your order.
- You can modify the order name, notify creator, and notify emails if you click on settings.
-
If you (or an assigned approver) is satisfied with your order, click on deploy, then agree to the Deployment Terms to start the process to provision your server. The job will be queued, then will step through the build process.
Order Status
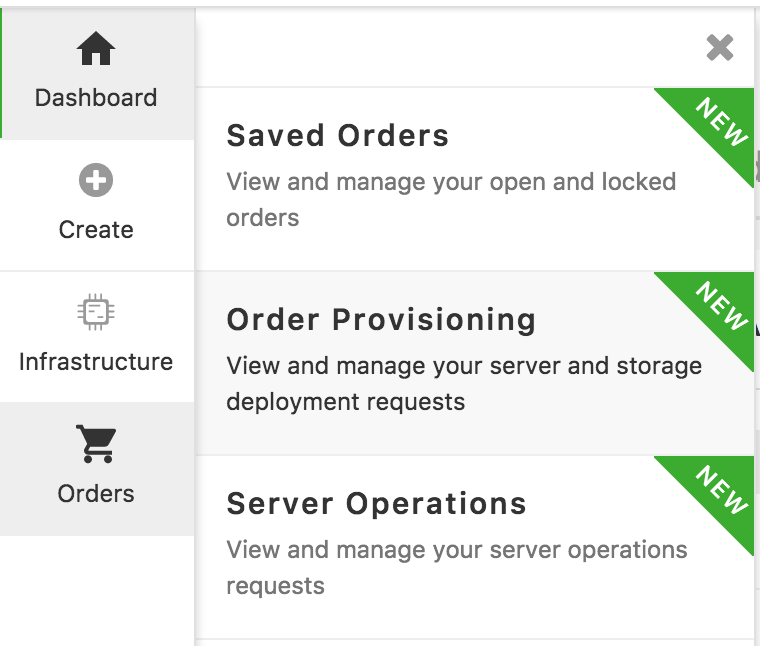
To check your order status, go to the left navigation bar and click on Orders, then select Order Provisioning. Look for the order you created and the associated status.